Quick Tips for London Creators
- Prioritize natural light; look for window seats in cafes for the softest glow.
- Start with a 50mm prime lens to avoid the weird distortion caused by wide-angle lenses.
- Use a reflector or a simple white foam board to fill in harsh shadows on your plate.
- Look for workshops in East London or Shoreditch for the most modern, creator-focused training.
- Don't over-edit; keep the colors natural so the food actually looks appetizing.
Essential Gear for Modern Food Creators
You don't need a studio to take great photos, but you do need a kit that handles the tight spaces of a London bistro. Whether you're shooting for a TikTok review or a high-end blog, your gear should be portable and precise.
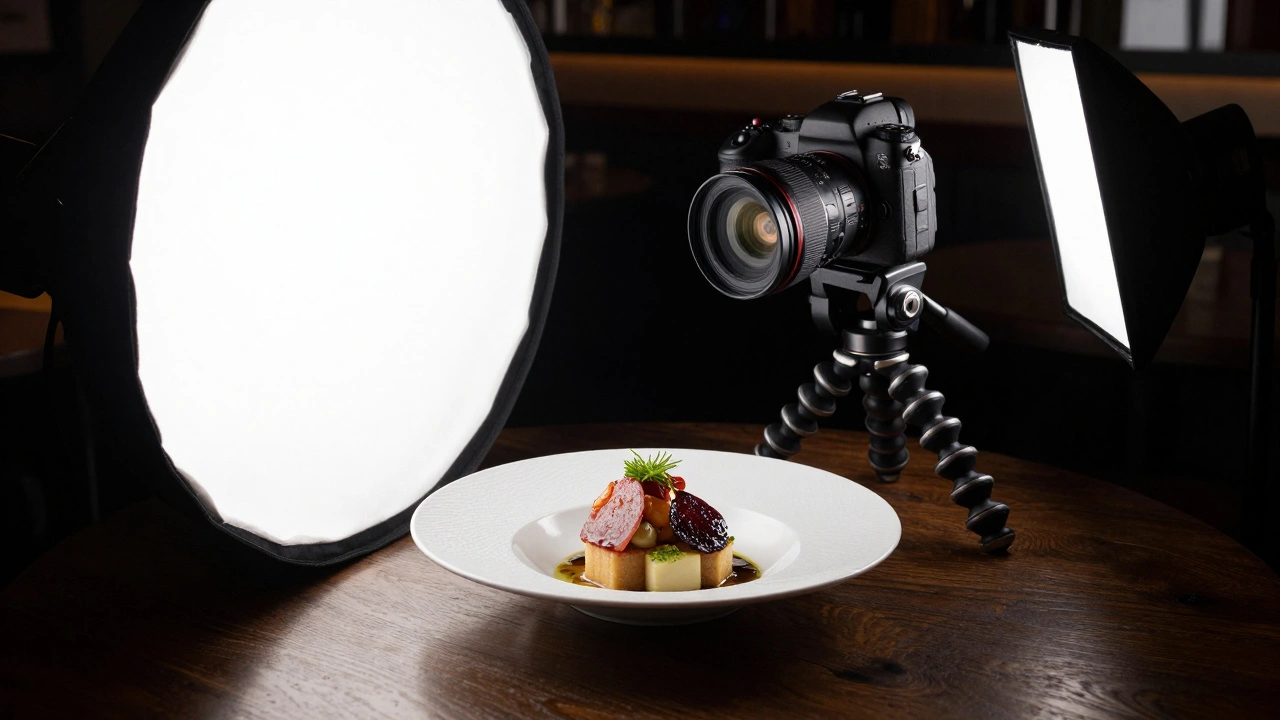
For most creators, the Mirrorless Camera is a compact digital camera that replaces the reflex mirror with an electronic viewfinder, allowing for a smaller body and faster autofocus which is perfect for candid food shots. Specifically, a full-frame sensor helps you get that creamy, blurred background (bokeh) that makes a dish pop.
The lens is actually more important than the camera body. Avoid using the kit lens that comes with your camera. Instead, grab a Prime Lens. A 50mm or 85mm lens is the gold standard for food. Why? Because they don't distort the image. When you use a wide lens, your burger might look unnaturally stretched. A prime lens keeps the proportions real and the focus sharp.
Lighting is where most people struggle. While natural light is king, London weather is famously unpredictable. A LED Panel provides a consistent light source when the sky turns grey. Small, rechargeable panels can fit in your bag and allow you to mimic window light even in a dark basement restaurant in Covent Garden.
| Level | Camera/Device | Essential Lens/Accessory | Lighting |
|---|---|---|---|
| Beginner | iPhone 15/16 Pro | Clip-on Macro Lens | Natural Window Light |
| Intermediate | Sony Alpha Series | 50mm f/1.8 Prime | White Foam Reflector |
| Professional | Canon EOS R Series | 100mm Macro Lens | Portable LED Panel + Softbox |
Where to Learn: Food Photography Classes in London
Reading a blog is fine, but nothing beats having an expert tell you that your fork is two inches too far to the left. London has a vibrant scene of photography schools and independent creators who offer hands-on training.
If you want a structured environment, look for courses that focus on Food Styling. This isn't just about photography; it's the art of arranging food to look its best. You'll learn tricks like using a brush to apply a bit of oil to meat to make it glisten, or using tweezers to place a sesame seed perfectly. Many studios in Shoreditch offer one-day intensives that cover both the styling and the shooting.
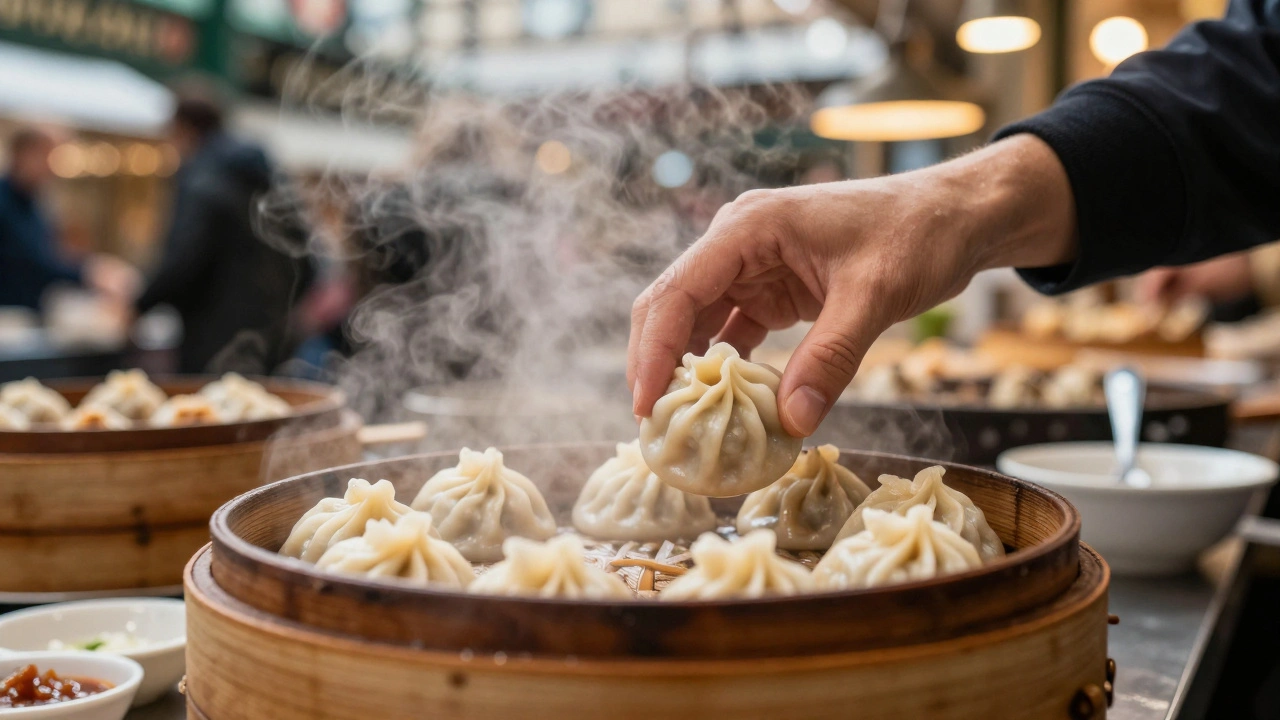
For those who prefer a more casual approach, "Photo Walks" are huge in the city. These are guided tours, often through Borough Market, where a professional teaches you how to capture movement-like a chef tossing pasta or steam rising from a dumpling-in a high-pressure, real-world environment.
When choosing a class, make sure it covers post-processing. Learning how to use Adobe Lightroom is non-negotiable. This software allows you to fix the white balance if the restaurant's yellow lighting makes your pasta look orange. A good class will show you how to create a consistent "preset" so your entire Instagram grid looks cohesive.
The Art of Food Styling for the Camera
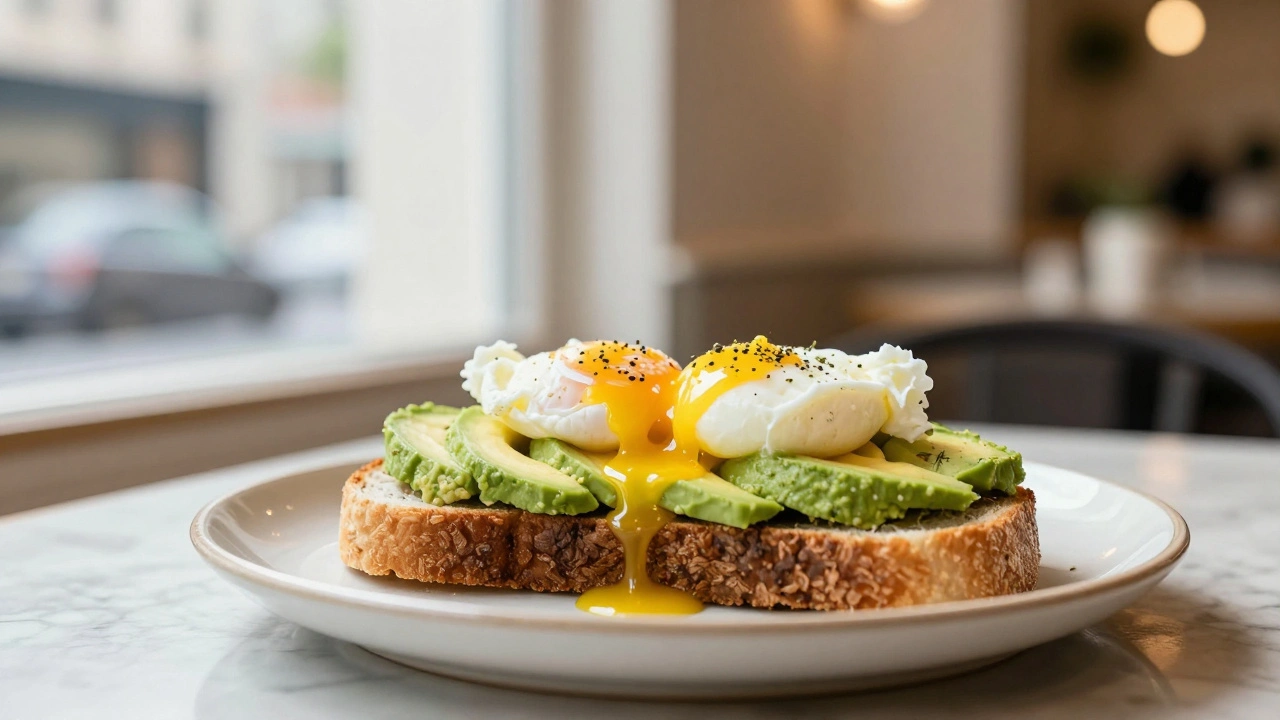
The biggest mistake creators make is plating for the camera instead of the eater. In a real meal, food is piled high. For a photo, you want layers and depth. Use the "clock method"-place your main protein at 6 o'clock and garnish your greens and sides around the curve to create a visual path for the eye.
Texture is what makes a photo feel "touchable." If you're shooting a creamy soup, a sprinkle of fresh chives or a swirl of olive oil adds a necessary contrast. Use a Reflector (even just a piece of white cardboard) to bounce light back into the shadows of the food. This prevents the "black hole" effect where the side of the plate furthest from the window is completely dark.
Don't forget the human element. A photo of a burger is okay, but a photo of a hand reaching for that burger creates a story. It tells the viewer that the food is being enjoyed. This is called "lifestyle photography," and it's what drives the most engagement on social platforms today.
Finding the Best Lighting in London Venues
Lighting in London restaurants is often a nightmare. You'll find everything from dim, romantic candlelight to harsh, flickering fluorescent tubes. The goal is to find "diffused light." This is light that has been softened, usually by a curtain or a cloudy sky.
If you're at a cafe in Marylebone, always aim for the window seat. Position your plate so the light comes from the side or slightly from behind. Side-lighting emphasizes the texture of the food, while back-lighting makes liquids and glassware glow. Avoid front-lighting (where the light is behind you), as it flattens the image and makes the food look two-dimensional.
If you're stuck in a dark spot, don't just crank up your ISO-that adds "noise" or grain to your photo. Instead, use a Tripod. A small, flexible tripod like a GorillaPod allows you to take long-exposure shots without blur, meaning you can keep your ISO low and your image crisp.
Common Pitfalls and How to Avoid Them
One of the most common errors is the "top-down" obsession. While the flat lay is a classic, shooting everything from directly above can be boring. Try a 45-degree angle; this is how humans actually see food when sitting at a table. It creates a sense of invitation.
Another issue is over-saturation. It's tempting to slide the saturation bar to the right to make colors pop, but this often makes food look radioactive. Instead, adjust the "Vibrance" or tweak individual colors. For example, if the greens in your salad look neon, lower the saturation of just the green channel to make it look organic.
Finally, watch your backgrounds. A beautiful cake can be ruined by a cluttered table with napkins, salt shakers, and stray cutlery. Clear the frame. If you can't move the clutter, use a wider aperture (like f/1.8 or f/2.8) to blur the background into a soft haze, keeping the focus entirely on the meal.
Do I really need a professional camera for food content?
Not necessarily. Modern smartphones have incredible sensors. However, a dedicated camera gives you control over the depth of field (that blurred background) and performs much better in low-light restaurants where phones often struggle and produce grainy images.
What is the best time of day to shoot food in London?
Mid-morning to early afternoon is best. You want the sun high enough to provide plenty of light but not so direct that it creates harsh, dark shadows on your plate. Aim for 10 AM to 2 PM for the most consistent natural light.
How do I handle a restaurant's lighting if it's too yellow?
This is a common problem in London's moodier eateries. Use a custom white balance setting on your camera, or shoot in RAW format. This allows you to change the color temperature in Lightroom after the fact, turning that sickly yellow into a clean, natural white.
Are there any specific London spots great for practice?
Borough Market is a goldmine. The variety of textures, colors, and natural light makes it perfect for practicing. Similarly, the cafes in Notting Hill often have beautiful aesthetics and large windows that are ideal for food creators.
What is the most important accessory for a food photographer?
A simple white foam board or reflector. It's cheap, lightweight, and fundamentally changes your photos by bouncing light into the shadows, which is the fastest way to make a photo look professional.
Next Steps for Your Creator Journey
If you're just starting, don't buy the most expensive gear immediately. Start by mastering the light in your own kitchen. Try to recreate a photo you saw on a professional account using only a window and a piece of white cardboard. Once you understand how light hits a surface, moving into a professional studio or a busy restaurant becomes much easier.
Next, build a portfolio. Don't just post to Instagram; create a curated gallery of your best work. When you approach London restaurants for collaborations, showing them a a a cohesive set of high-quality images is far more effective than showing them a feed with 1,000 random snapshots. Focus on a niche-maybe you're the "London Dessert Expert" or the "Street Food Specialist"-to build a stronger brand identity.